Cutting List Form Guide
Overview
This guide will help you accurately complete our cutting list form to ensure you receive the exact timber pieces needed for your project. Follow these four simple steps to submit your order.
Important: All measurements must be in millimetres and follow the format: Thickness × Width × Length


Step 1: Design Your Project
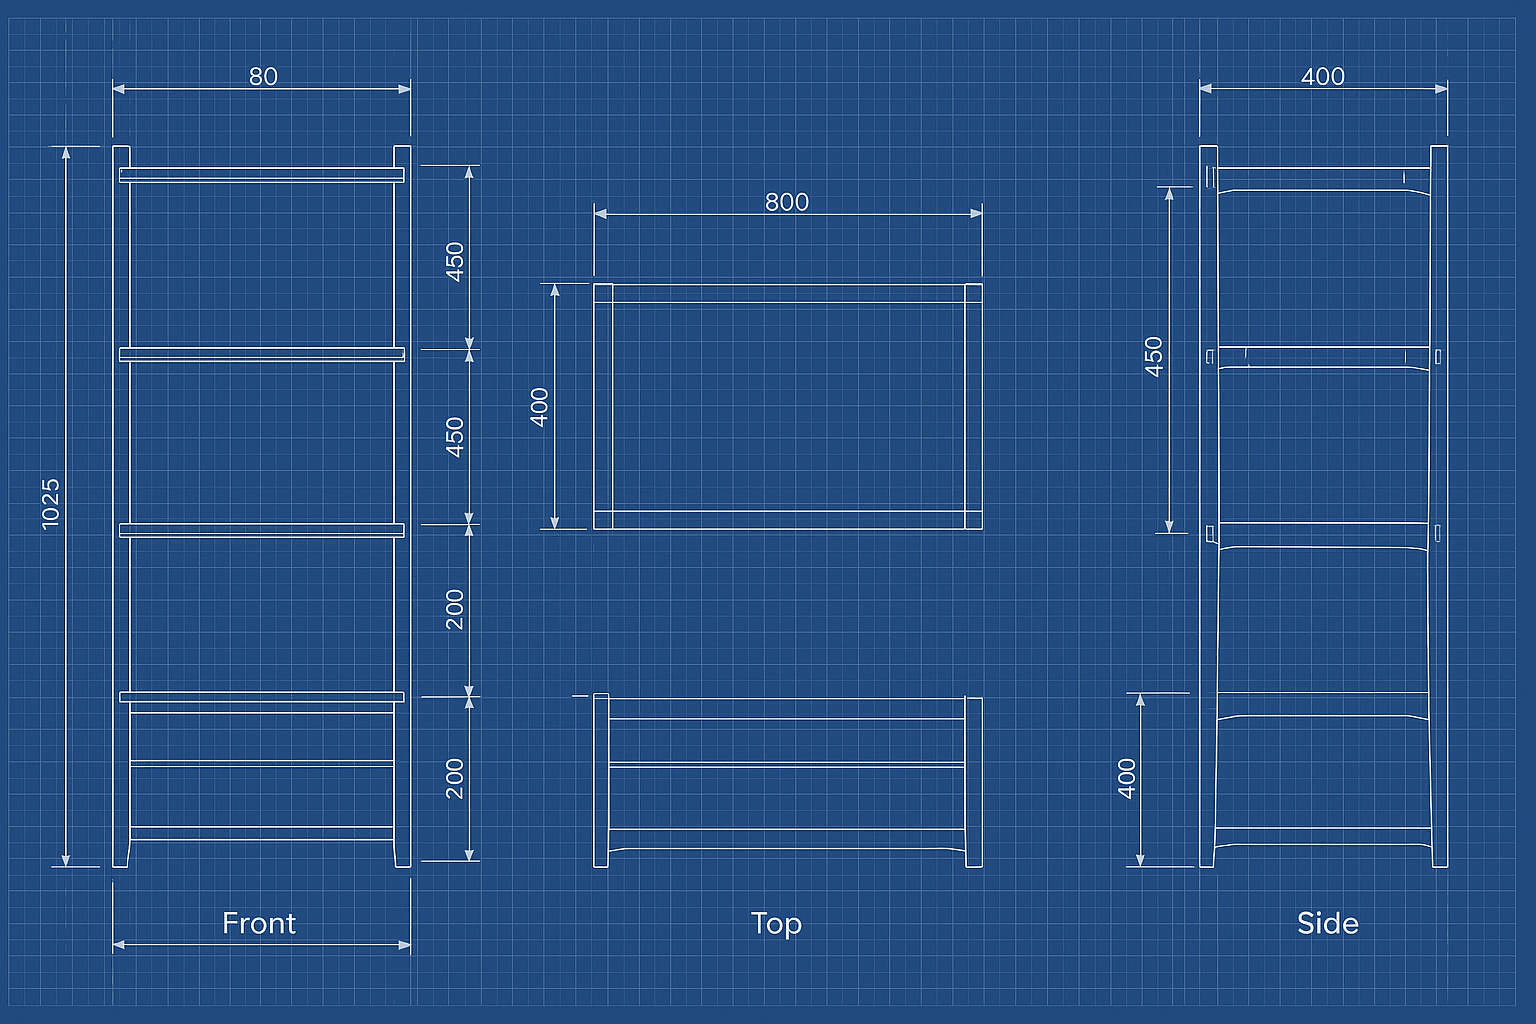
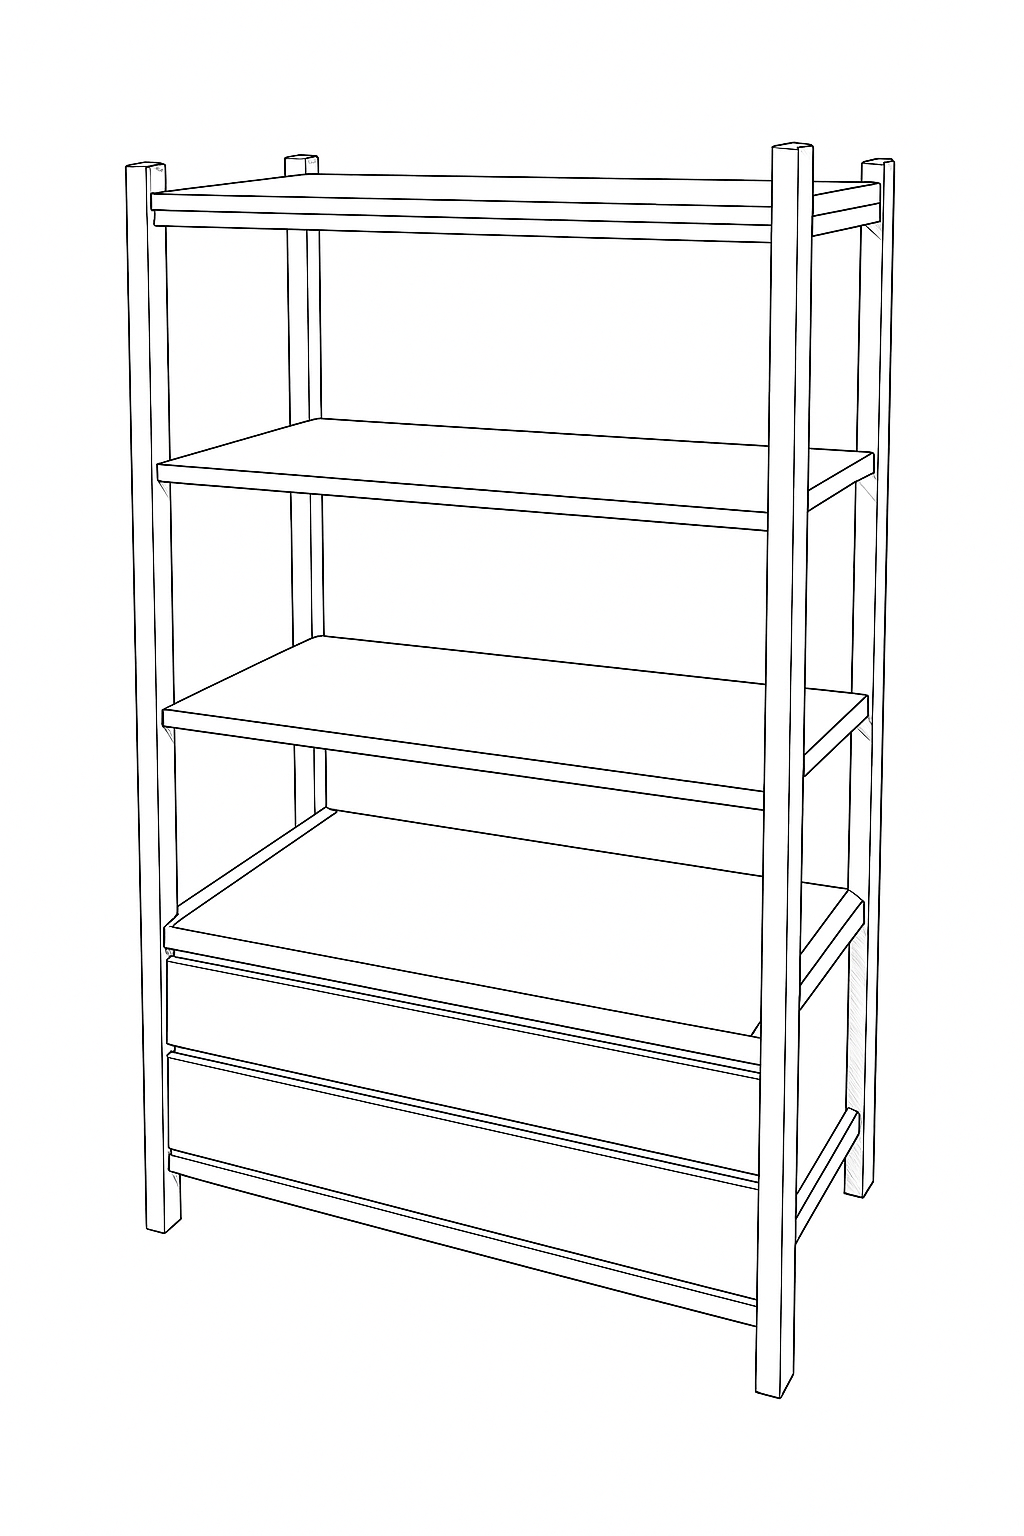
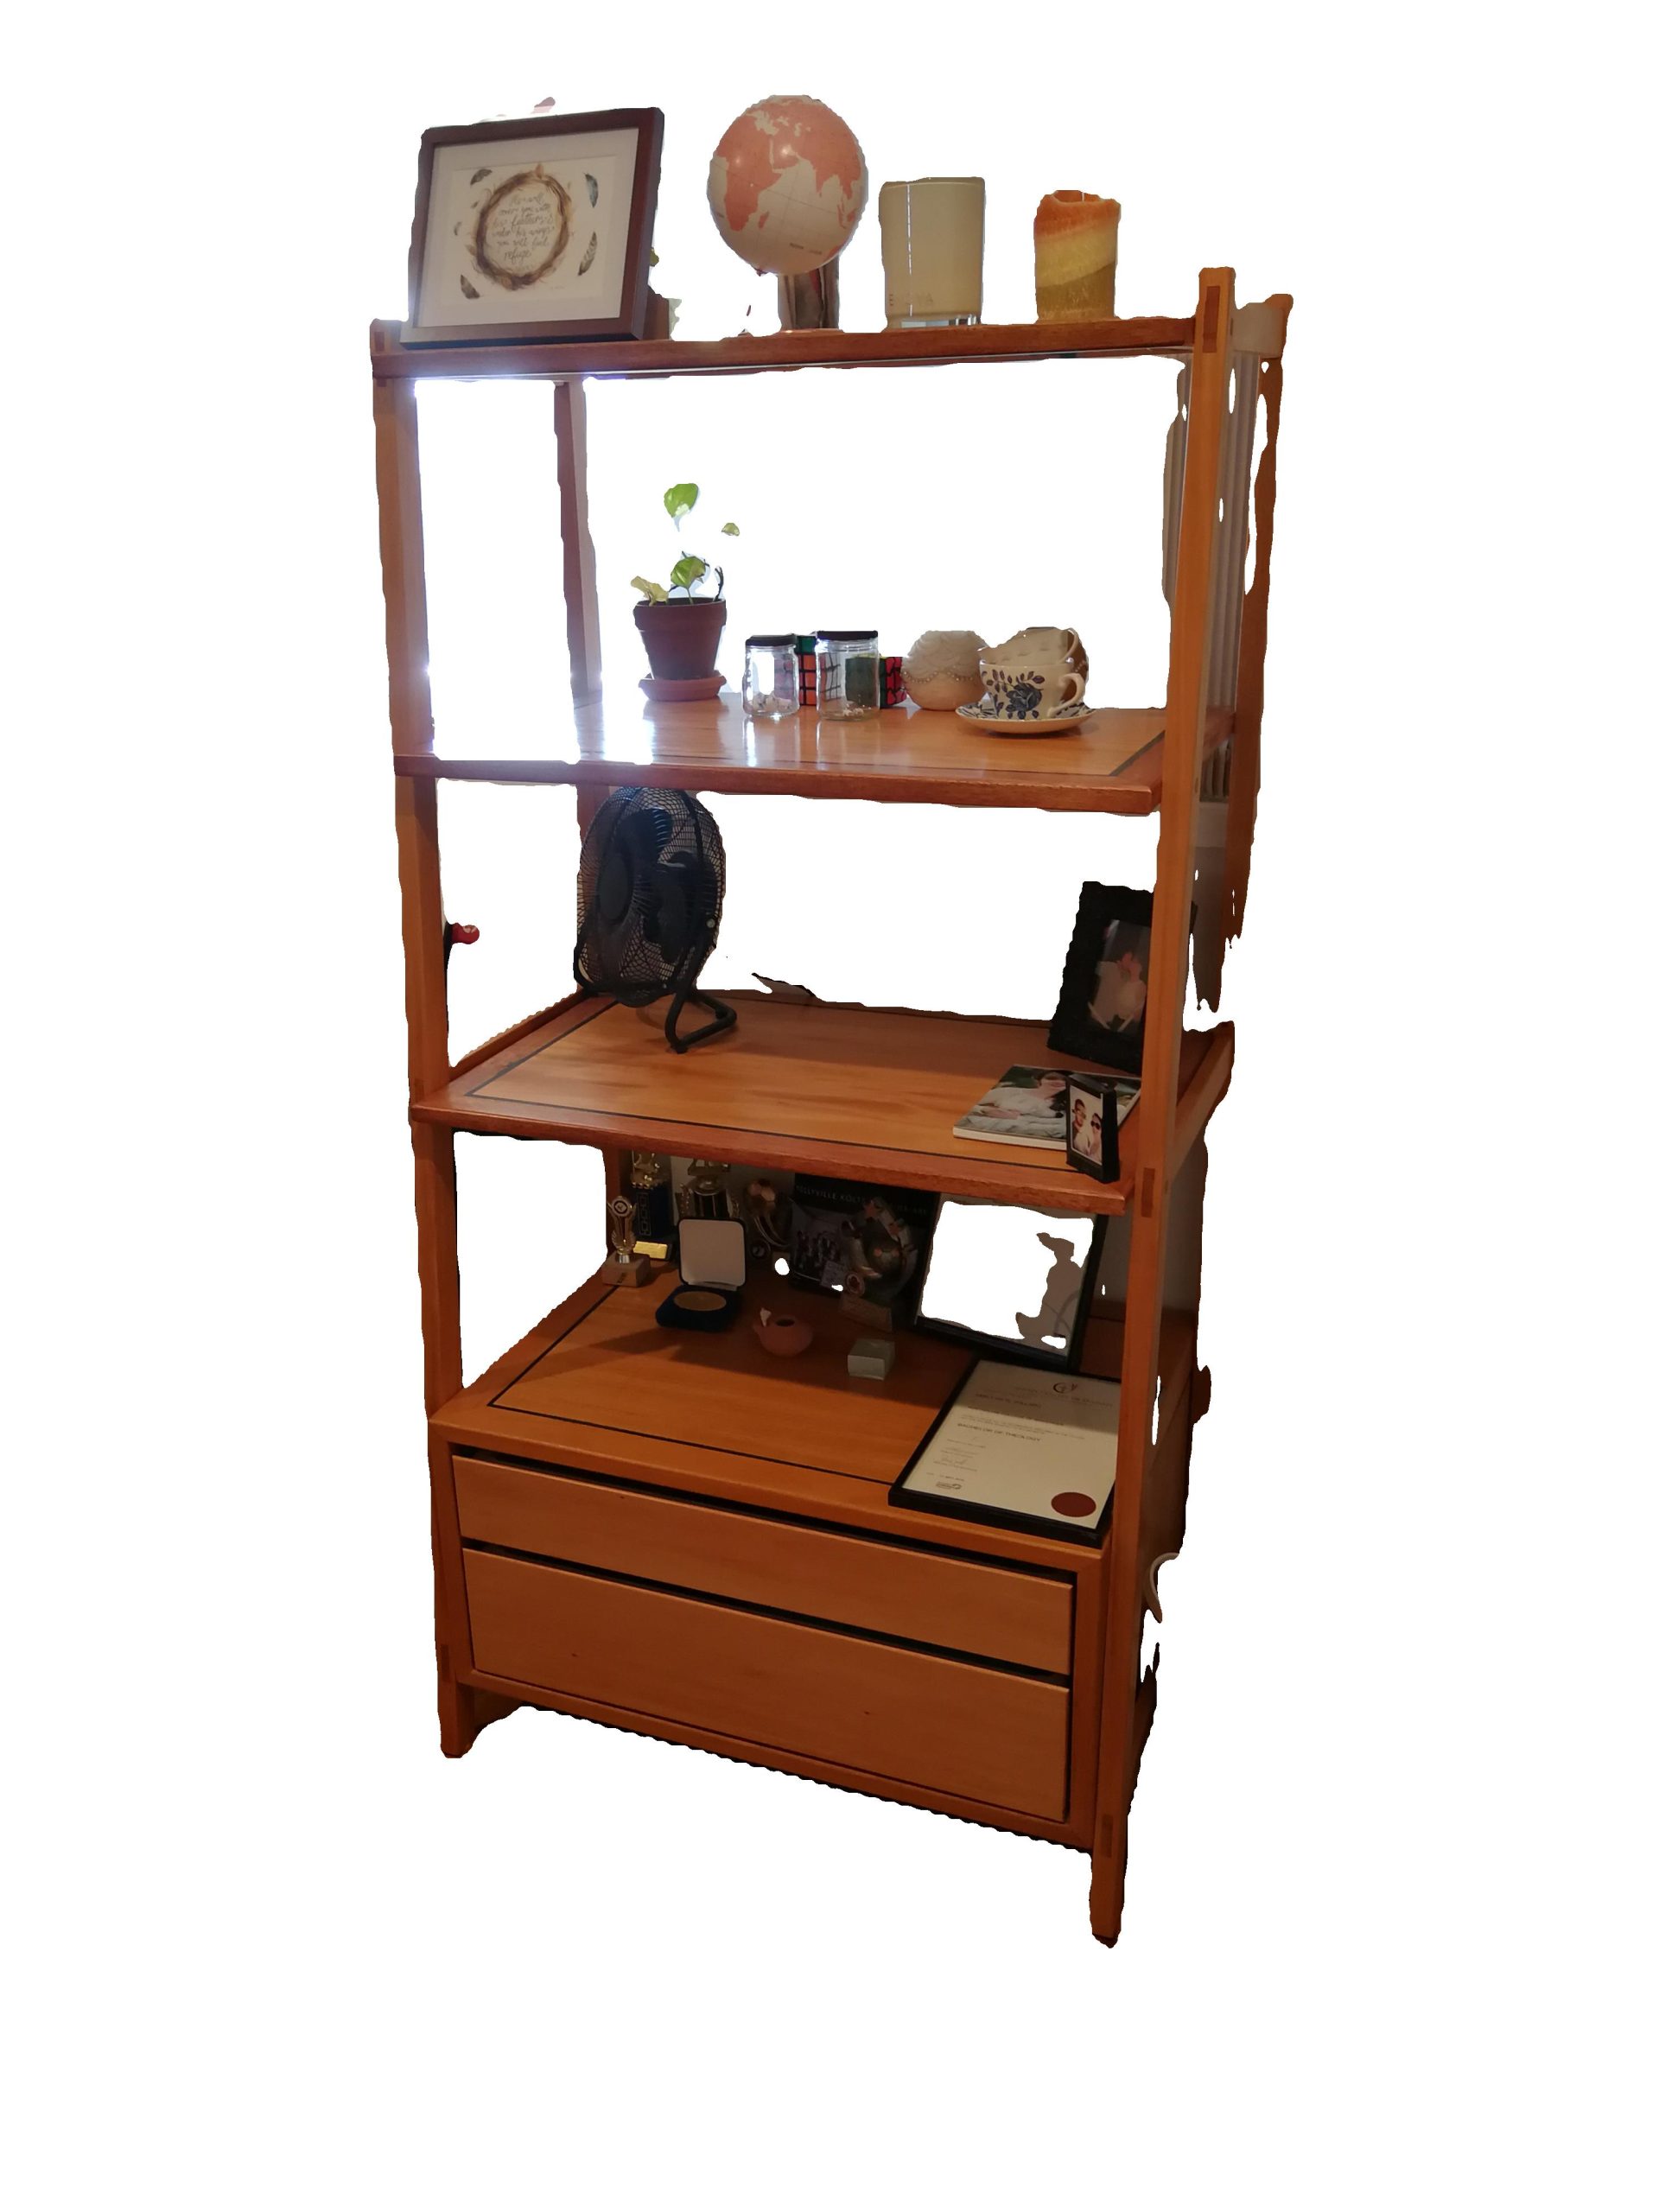
Create your woodworking project design using any method you prefer – sketches, CAD software, or detailed plans. While we don’t need to see your design, having clear dimensions for each component is essential for the next steps.
What you need: Final dimensions for every piece of timber in your project.


Step 2: Create Your Component List
2.1 Measure Each Piece
List every component with its finished dimensions in this format: Thickness × Width × Length (in millimetres)
2.2 Group Similar Pieces
Organize identical pieces together to make form completion easier.
Example Project Components:
- 6 legs: 65mm × 65mm × 700mm
- 2 side panels: 19mm × 370mm × 500mm
- 2 shelves: 19mm × 434mm × 390mm
- 1 back panel: 19mm × 348mm × 500mm
- 1 top panel: 19mm × 1220mm × 600mm
Tip: Double-check your list to ensure no pieces are missed.
Step 3: Complete Our Cutting List Form
3.1 Required Information
For each component, provide:
- Quantity: How many pieces needed
- Dimensions: Thickness × Width × Length (in millimetres)
- Timber Species: Specify your preferred wood type
- Component Name: Brief description (e.g., “legs”, “top panel”)
3.2 Wide Panel Options
If you need panels wider than our standard stock widths:
Option 1: Break down the width
- Example: For a 600mm wide panel in walnut (if we stock 170mm wide boards)
- Enter: 4 pieces at 170mm wide
Option 2: Request full width
- Enter the full width required
- We’ll quote the most economical cutting solution
3.3 Form Completion Tips
✅ Do: Use millimetres only
✅ Do: Specify timber species for each line item
✅ Do: Group identical pieces together
✅ Do: Include a component name
❌ Don’t: Enter the same piece multiple times
❌ Don’t: Mix measurement units
❌ Don’t: Leave species field blank


Step 4: Submit Your Order
4.1 File Preparation
- Save your completed form as a PDF
- Include your contact details and delivery preferences
4.2 Submission
Email: sales@trendtimbers.com.au
4.3 What Happens Next
- Quote Response: We’ll send you pricing for timber and delivery (if selected)
- Payment: Call us with your payment details to confirm the order
- Queue: Your order enters our production schedule
Our Processing Method
Once your order is confirmed, here’s how we prepare your timber:
Cutting & Labelling
- Oversized cutting: All pieces cut slightly longer than specified for final trimming
- Component labelling: Each piece marked with letters corresponding to your cutting list (e.g., ‘A’ for legs)
- Efficient batching: Similar pieces may be combined on longer boards for transport efficiency
Milling Process
- Jointing: One face and one edge made straight and square
- Thicknessing: All four sides processed through our thicknesser
- Quality Control: Final dimensions checked to meet your specifications
- Packaging: Timber wrapped for protection
Delivery or Collection
- Delivery: Scheduled delivery arranged (if selected)
- Collection: Notification sent when order is ready for pickup
Need Help?
Contact Us:
- Phone: (02) 4577 5277
- Email: sales@trendtimbers.com.au
Business Hours: Mon-Fri: 9:00am-4:00pm
Sat: 9:00am – 12:00pm
This guide is designed to help you successfully complete your cutting list form. Your specific project requirements may vary from the examples shown.

